
This post has been a long time coming…13 years to be exact! Although I didn’t know it thirteen years ago.
My oldest had his Bar Mitzvah just over a month ago and I feel like I’ve just recovered from the big event.
He did an amazing job reading from the Torah, giving his speech to our guests, and maintaining his confidence and composure the entire day. He really shone like a star that day and was deserving of all the accolades and attention.
My job was to set the scene for our guests after the pomp and circumstance and for that I spent many months planning, plotting, “pinning” and preparing. There were so many details and so many checklists, but here, I will give you a brief glimpse into the celebration that followed the ceremony.
Our brunch began by welcoming our guests to “the cottage.”
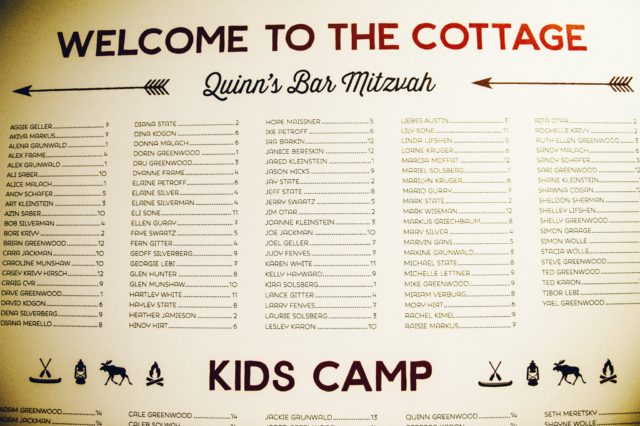
This was the seating chart for the luncheon
I hired a graphic designer, gave her the guest list in a spread sheet with the table assignments along with some suggested fonts and icons and the dimensions for the foam core board. She was amazing to work with and had the poster delivered right to my front door. We simply mounted the board on an easel right inside the entrance to the reception room.
As people wandered in and found their tables, there was a slide show playing to music projected on to a drop cloth that I had hung on the wall, with patio lights framing it. Â The “screen” was flanked by red plastic Muskoka chairs that were draped with wool camp blankets and throw pillows with wildlife imagery such as owls, deer and moose.

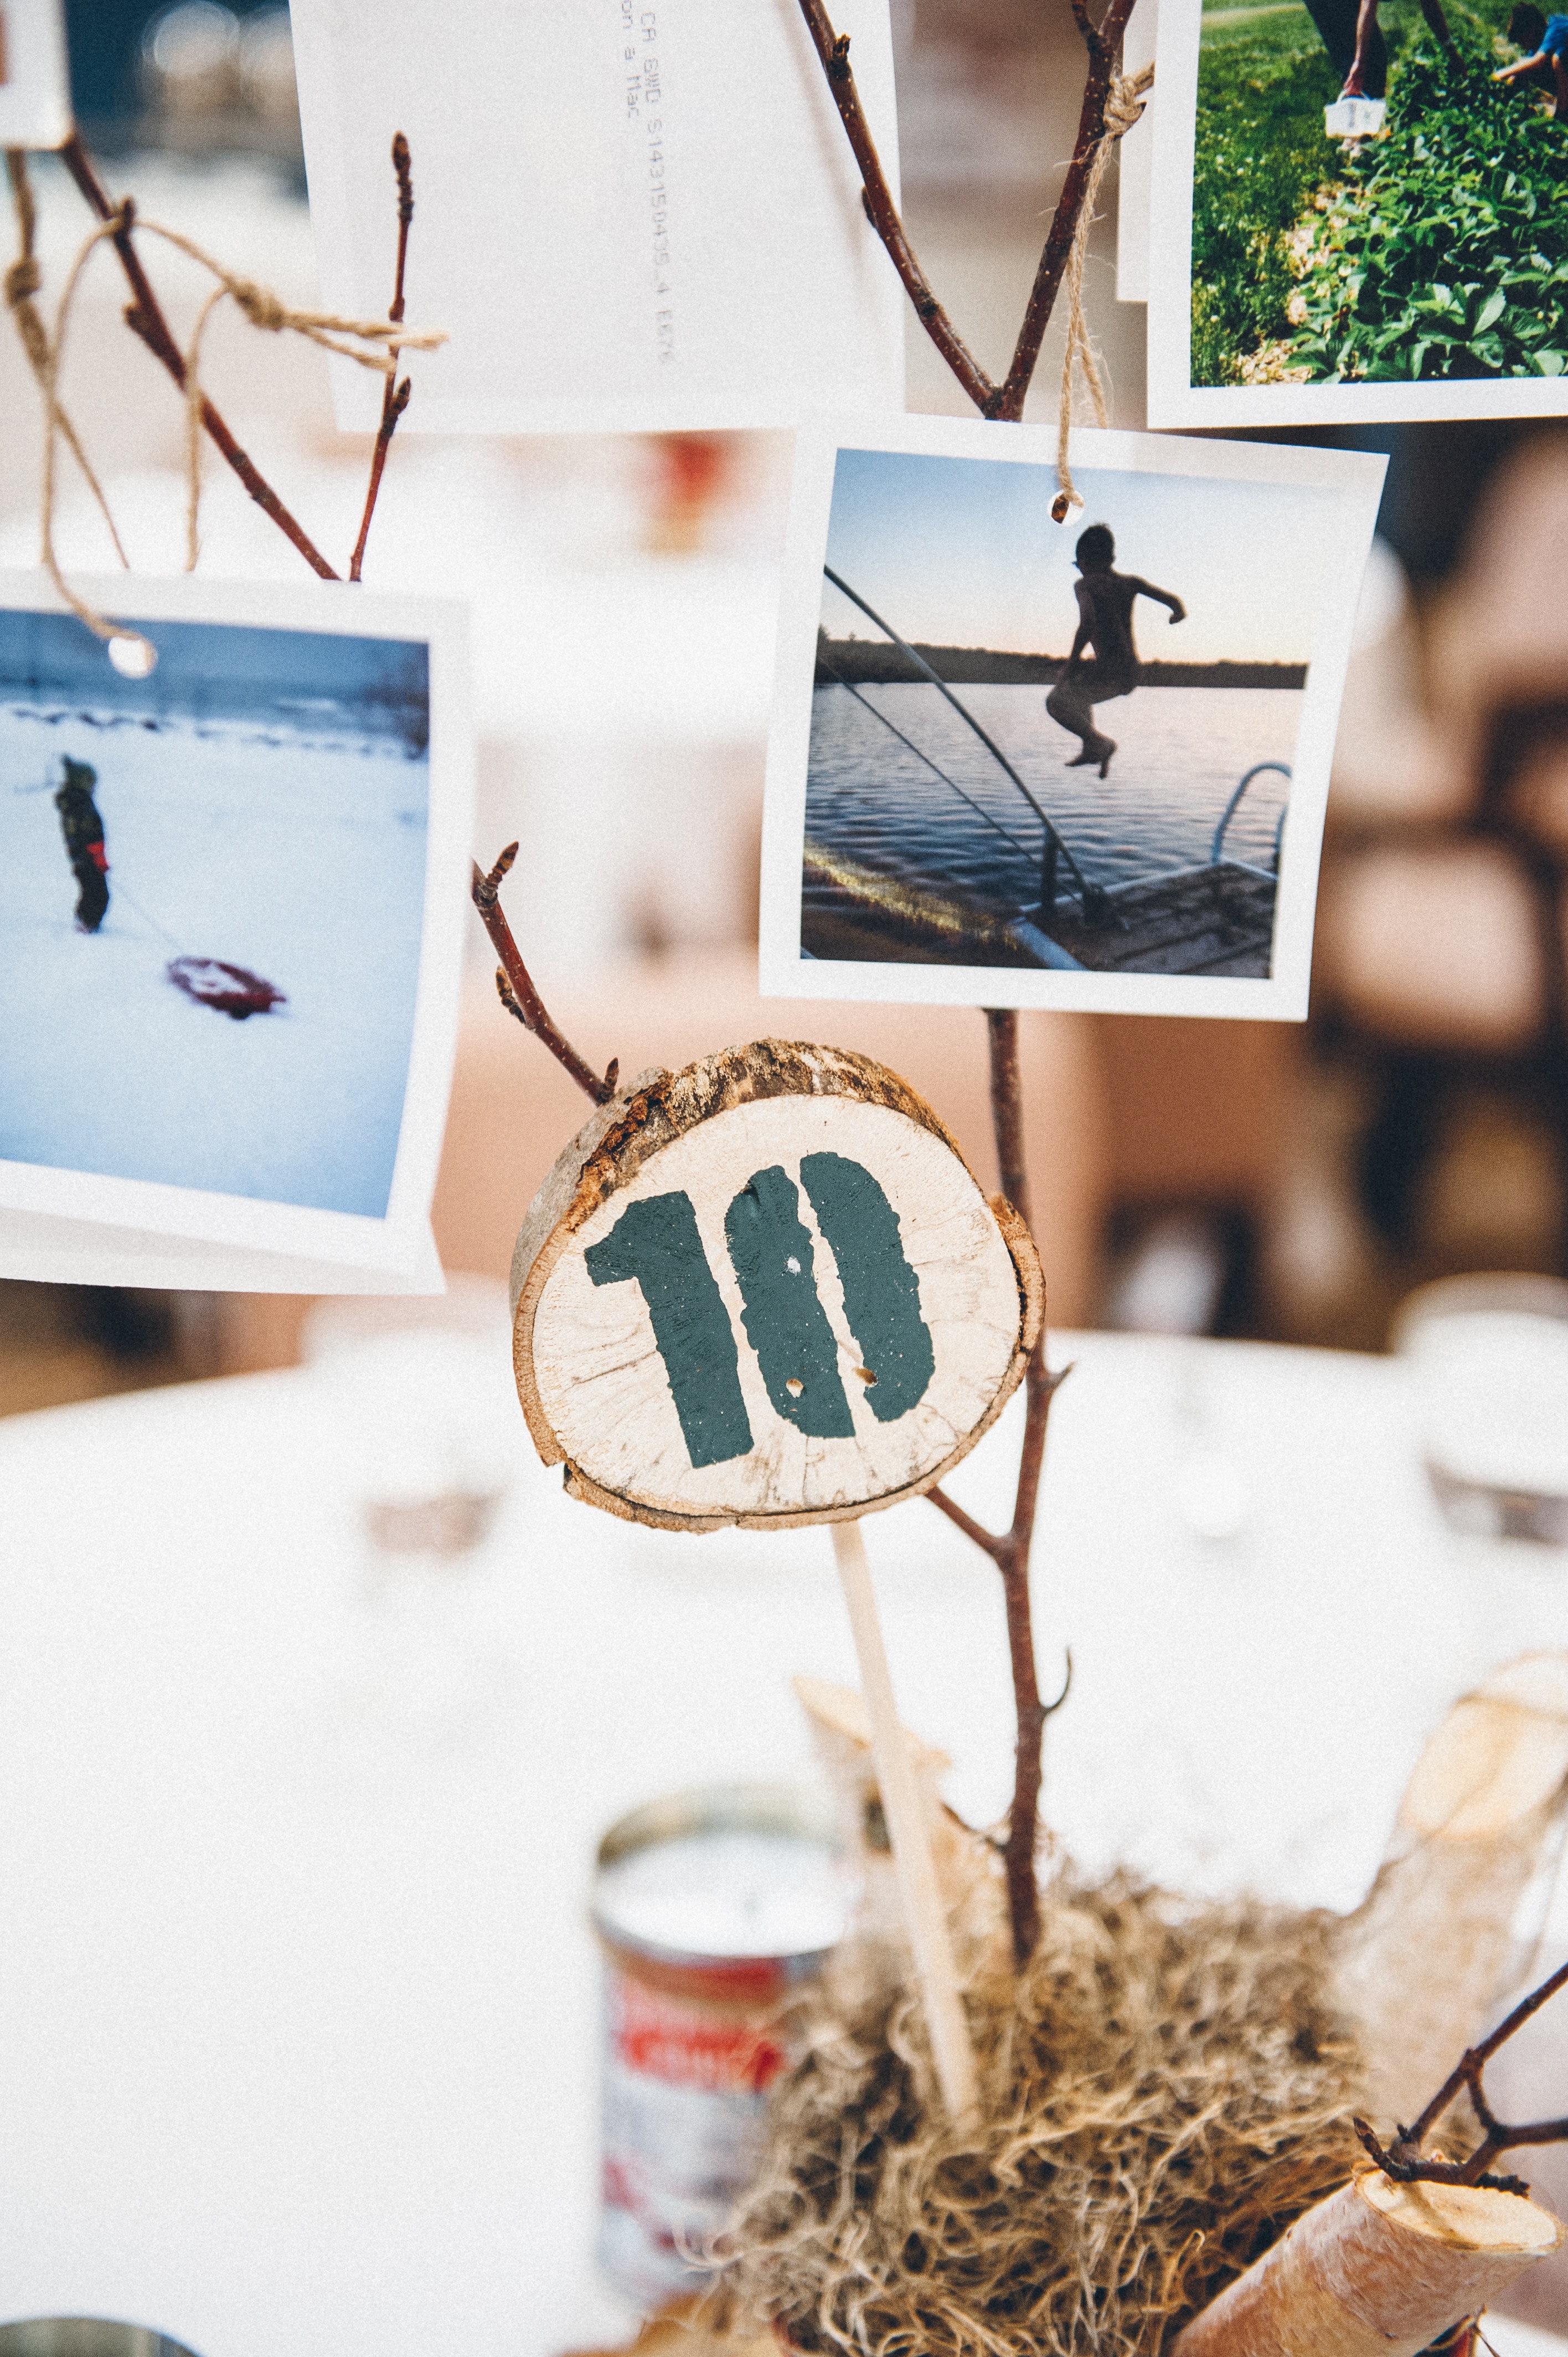
All the photos in the slide show were of the family at various family cottages in both summer and winter. Putting together that slide show was a labour of love. I also printed all the photos on to 4″ x 4″ paper, which were used as part of the centrepieces.
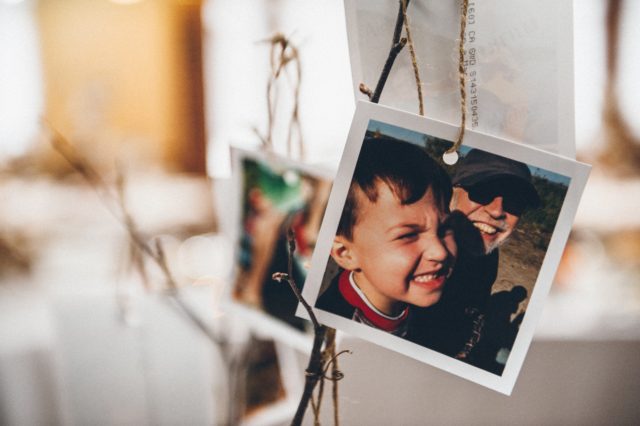
My mother, my husband and I did an assembly line, punching holes into each photo and tying jute twine through the holes. These photos were then hung on the young birch branches in the centrepieces.
Speaking of the centrepieces–these were probably the cheapest DIY centrepieces ever and yet the most personal. I got little red socker plant pots at Ikea–there was a lot of red in the decor because that is my son’s favourite colour–filled them with pea gravel and off cuts of birch branches from my girlfriend’s cottage in North Bay, and the young birch branches were from my mom’s cottage on Georgian Bay.
We stood the pots on round wood “coins” that my husband cut with his chainsaw from fallen trees in the ravine in our neighbourhood. I just had to schlep them all to the car!
And the final touch were the rocks around the bottom of the pot, which were collected by me and my son from the harbour near my mom’s cottage.
So I think all told, we spent about $5 on each centrepiece and the biggest expense was the printing of the photographs.
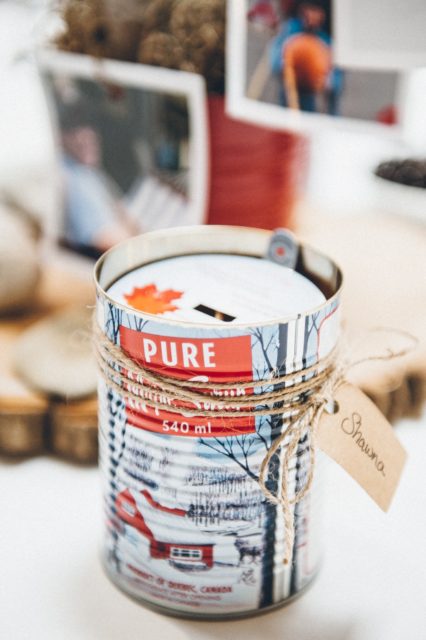
The additional expense came with the guest keepsakes that I put on each table. These were maple syrup candles in tins. They certainly didn’t come cheap, but I thought it was important to give guests a small memento from the day as a thank you from us.
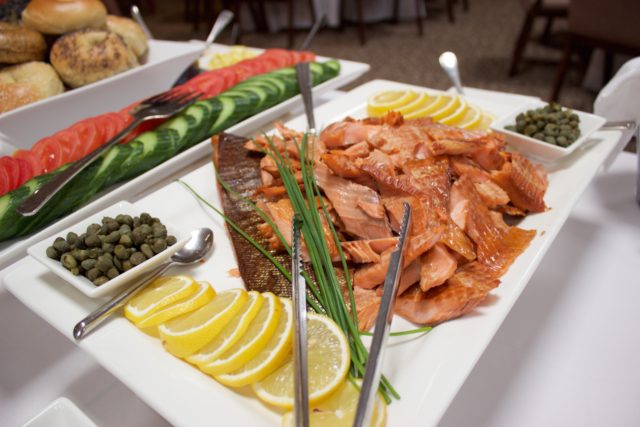
The brunch was delicious, catered by L-Eat. Niki and Tony did a fabulous job and the presentation of the food was simple and elegant. We made sure everything that was served were things we would typically eat for brunch: french toast with maple syrup, quiche, bagels with all the fixings, yogurt with granola and berries, and as a special treat we arranged to have smoked trout from Kolapore Springs trout farm up near my parents’ cottage.

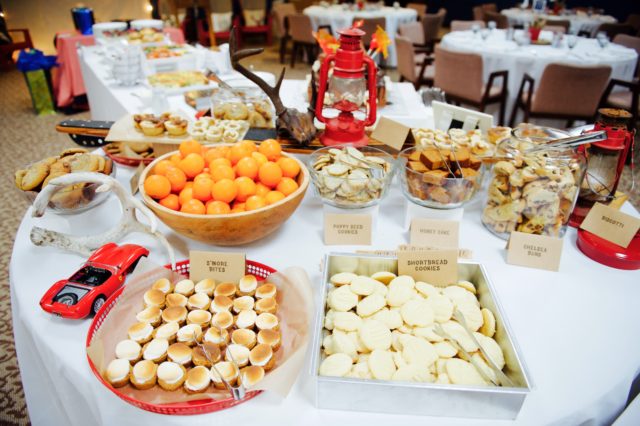
But the best part of brunch was the dessert table! This is where I truly got to showcase my baking skills, with the help of my mom, sister and mother-in-law. First, I decorated the table with objects that represented my son and the cottage–Scrabble pieces that said “Help Yourself”, antlers, a red model sports car, an old cribbage board, a vintage waterski, red oil lanterns, and a photo of my husband holding our son as a newborn.
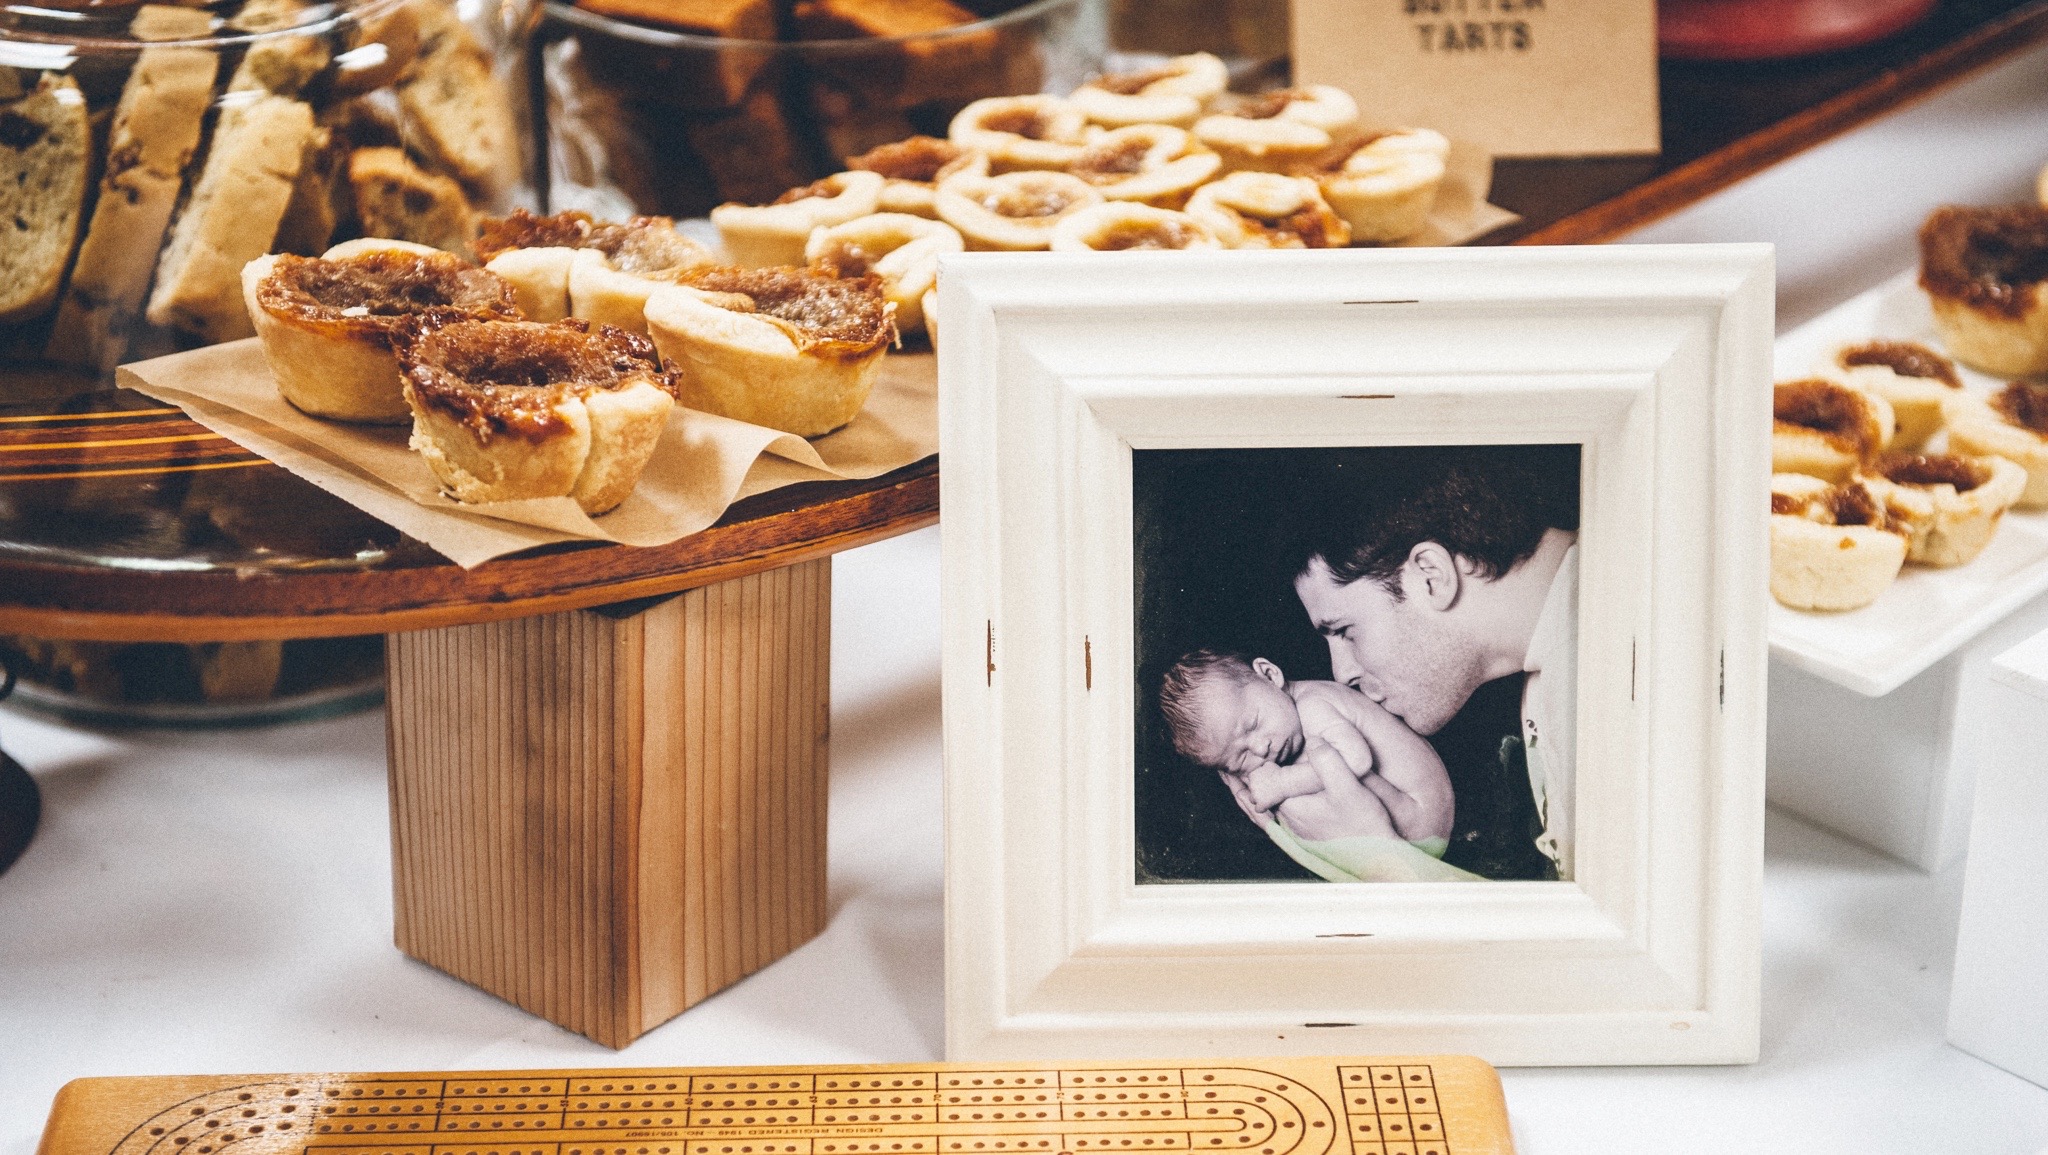
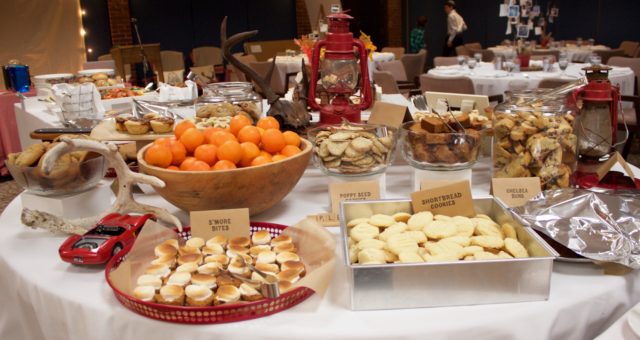
All the baked good were displayed on red tin trays, big glass cookie jars with red lids, even the waterski was used to display the homemade butter tarts.
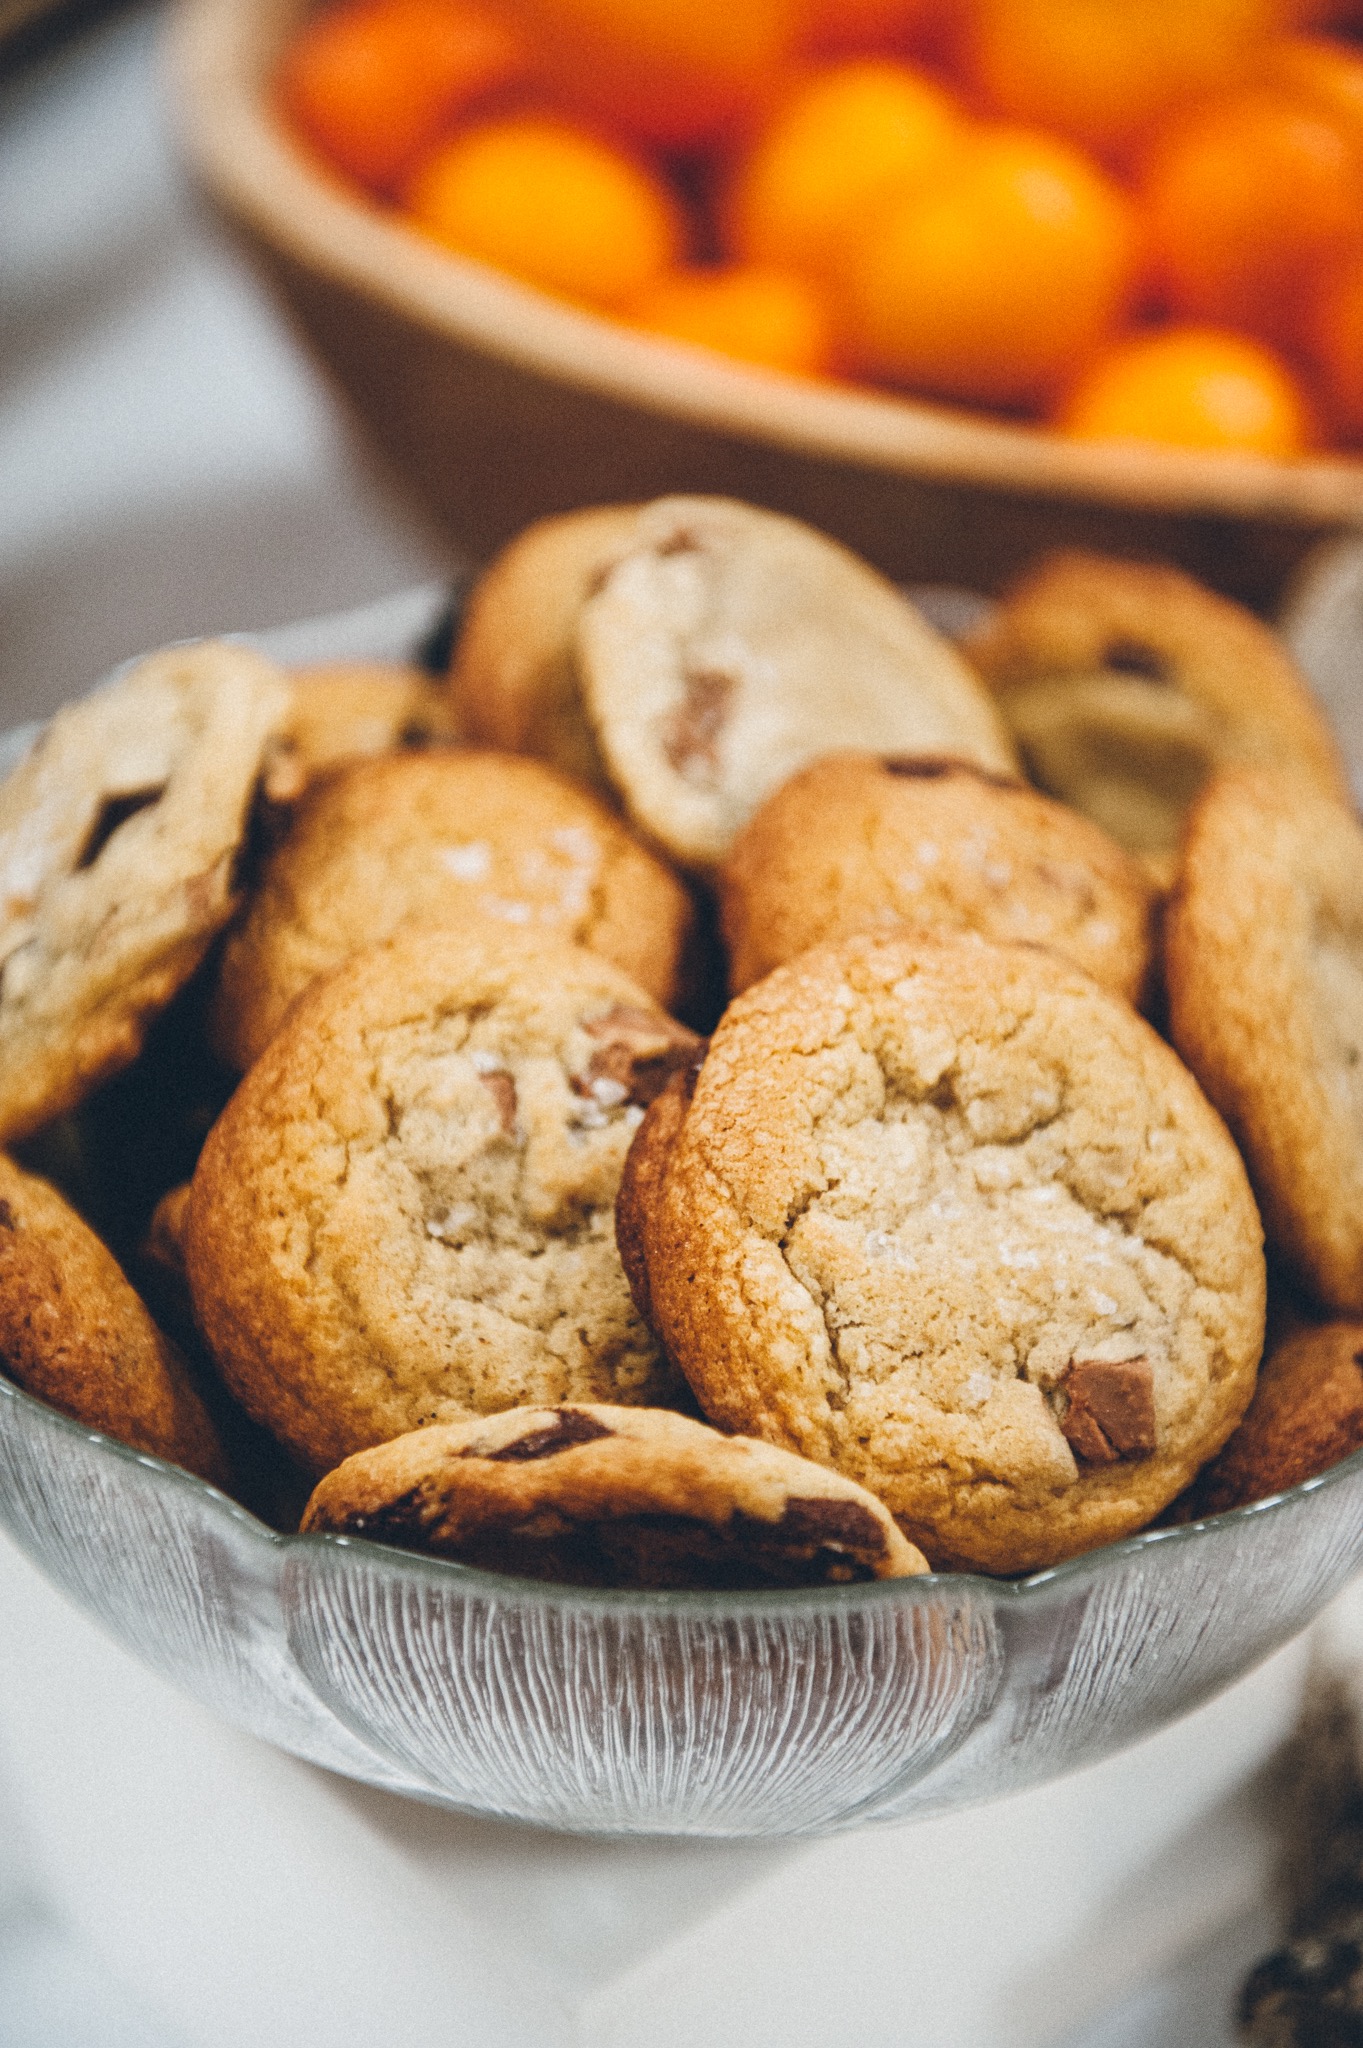
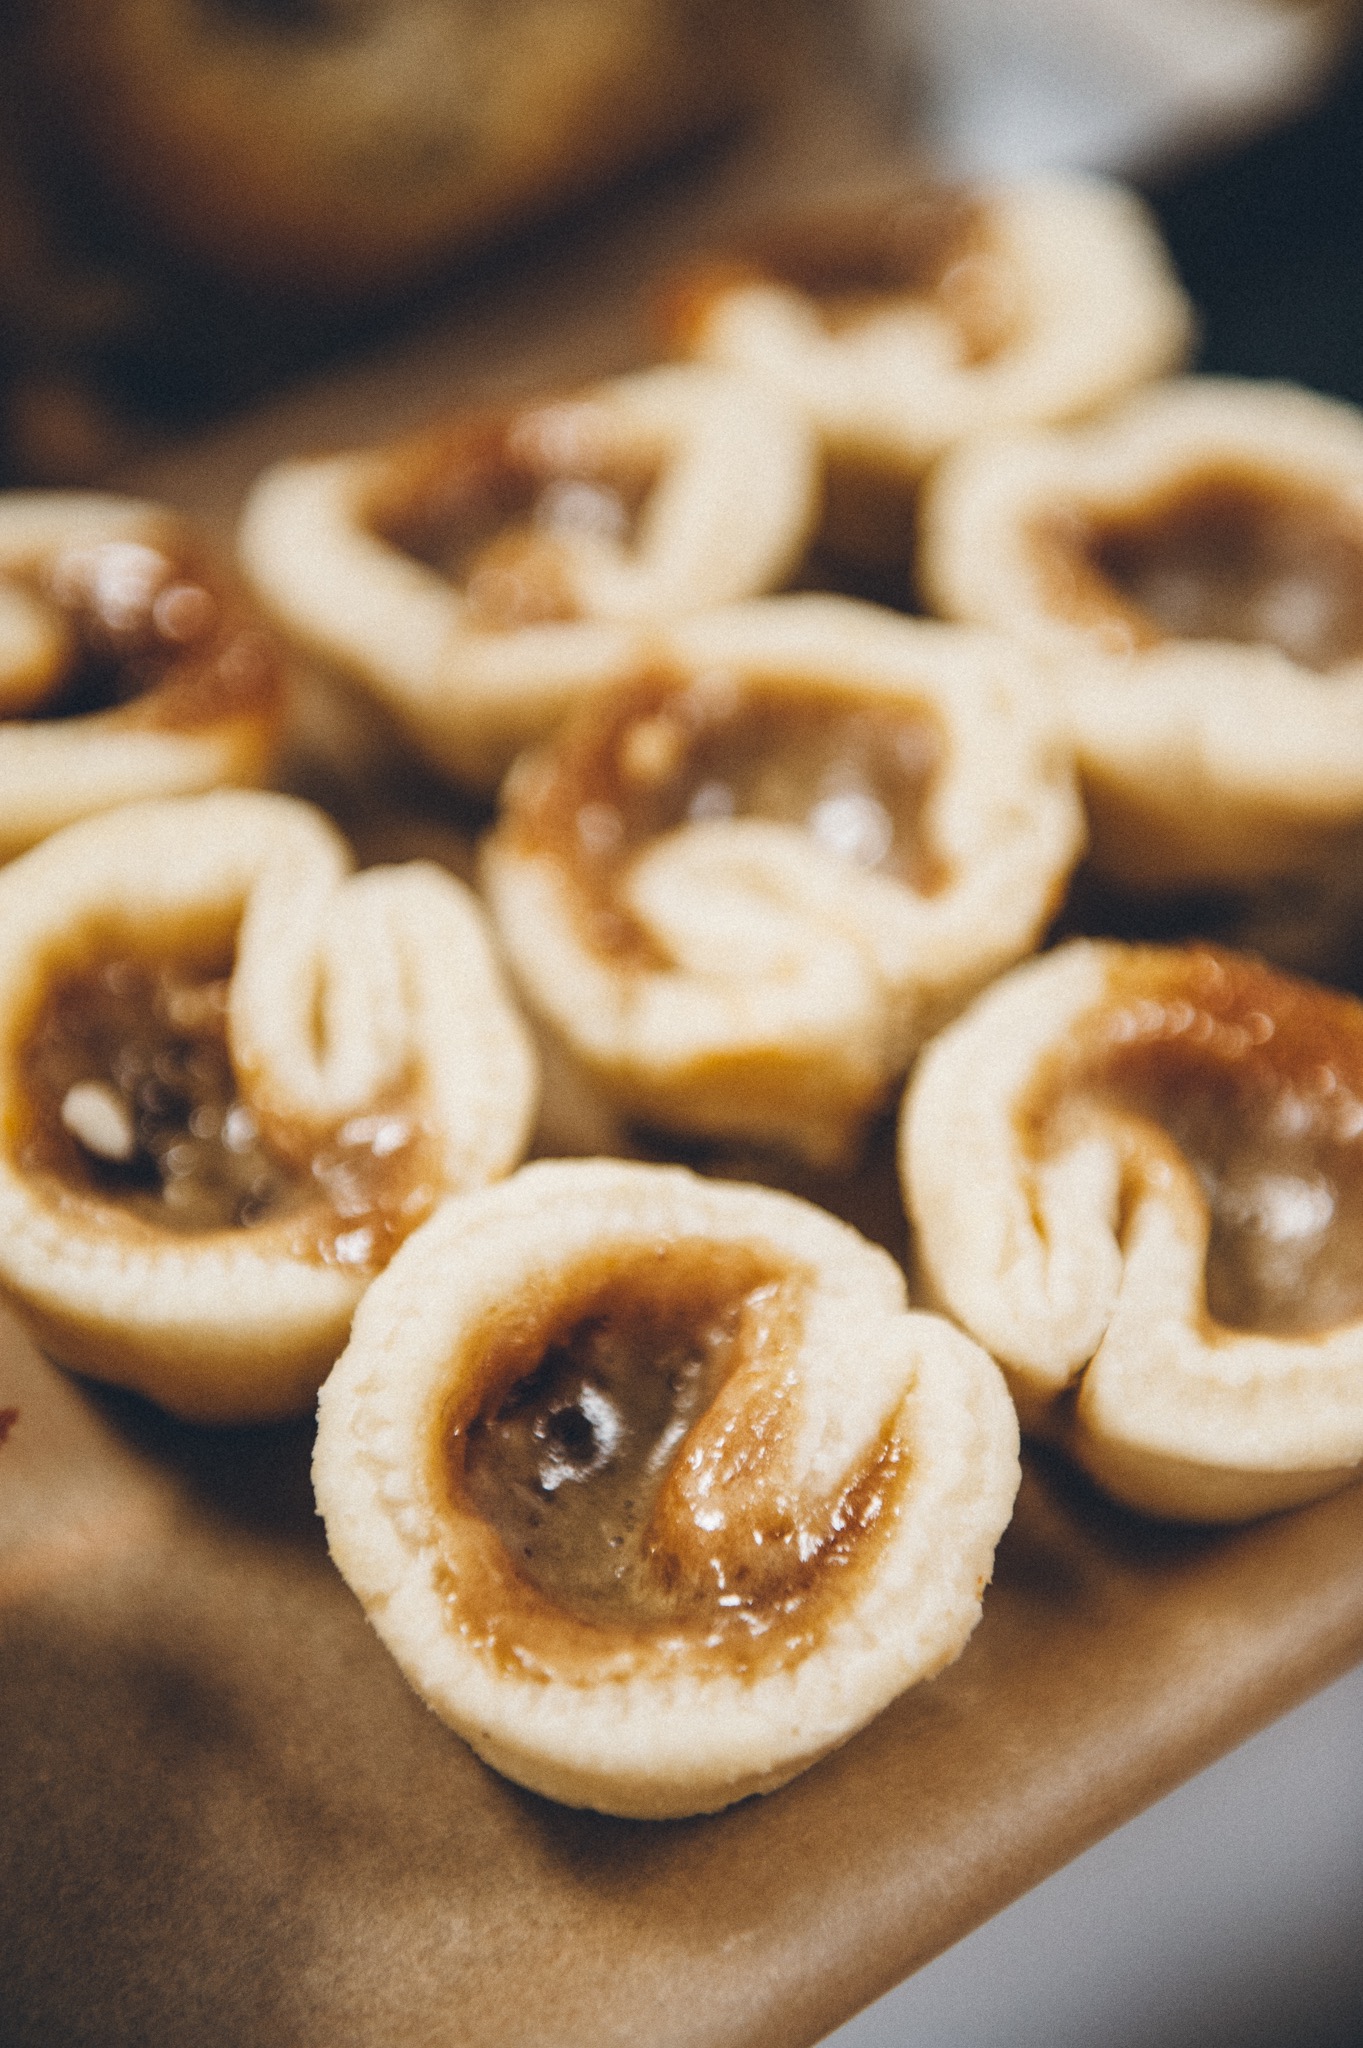
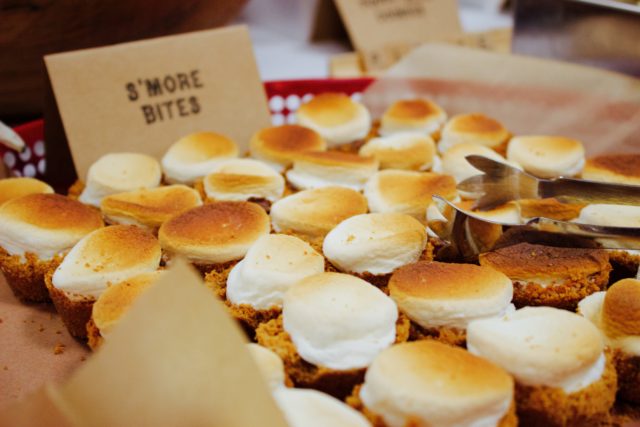
There were homemade salted chocolate chunk cookies, s’mores bites, butter tarts, honey cake, shortbreads, poppy seed cookies, ginger cookies and also chelsea buns from the Thornbury bakery (the only thing I didn’t bake!).
It wouldn’t be a celebration without a cake, right? Of course I baked a cake! It’s the giant, incredibly chocolatey cake recipe from Deb Perlman’s Smitten Kitchen. It’s the same cake I baked for my parents’ 40th wedding anniversary, except this time I made marshmallows, charred them and put them on the cake. I also made banana chocolate chip cake “logs” and I made flames from melted red and orange lollipops. A candy maker I am not!
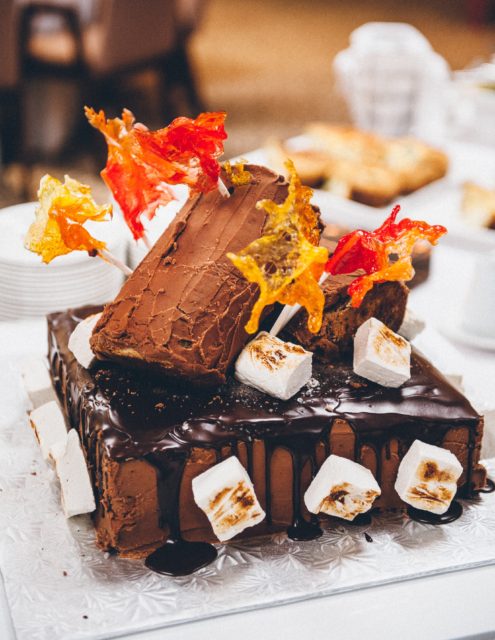
I can’t say the cake turned out as nicely as I would have liked from a visual perspective, but it tasted damn good.
Credit for all the photos goes to Julius Ding of Julius and James Photography. This was their FIRST Bar Mitzvah photo shoot, and they really did capture the essence of the celebration, rather than the staged photos of the family and Bar Mitzvah boy that we all too often see. This was a celebration in real life and I’m so glad Julius was there to capture the moment.
There is so much more to tell you about the day because it didn’t end with the brunch! But I think I’ll save those details for another post. I’m starting to get tired just thinking about it again. Phew!
Feel free to contact me if you have any questions or want to learn more about what I did and how I did or where I got my ideas from.